Phone: (346) 337-0714 Email: info@lynxTNM.com Lynx Test and Measurement LLC
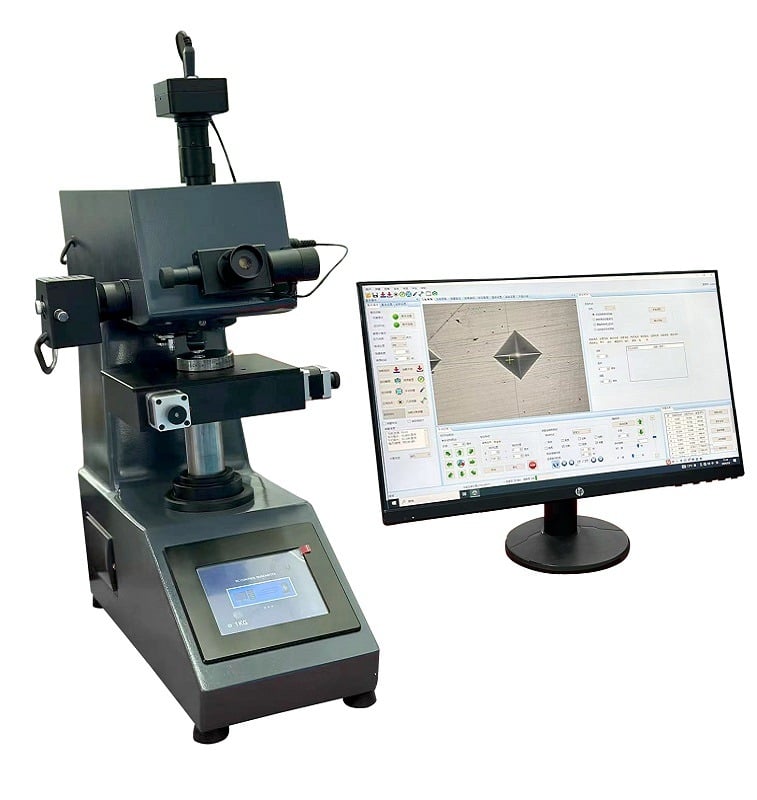
Fully Automated Vickers Microhardness Tester
Experience the latest in professional technology for precise microhardness measurements. Greatly reduce operator error and failure to report.
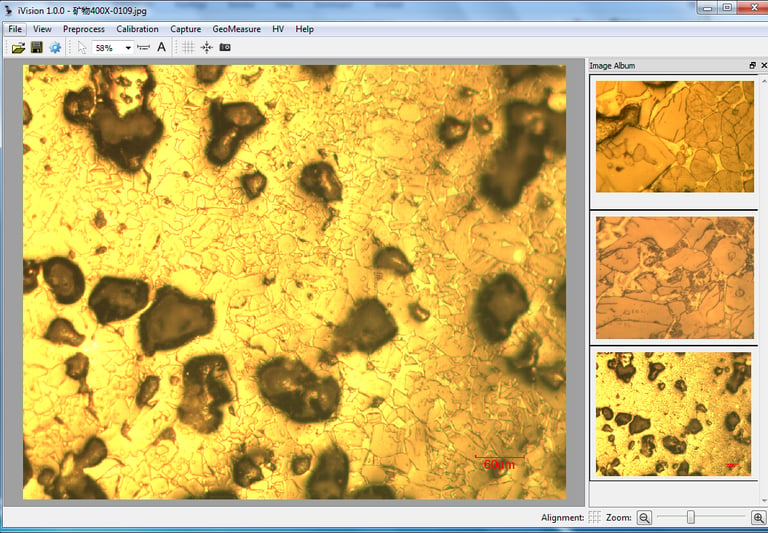
Fully Automated
X, Y, and Z Directions
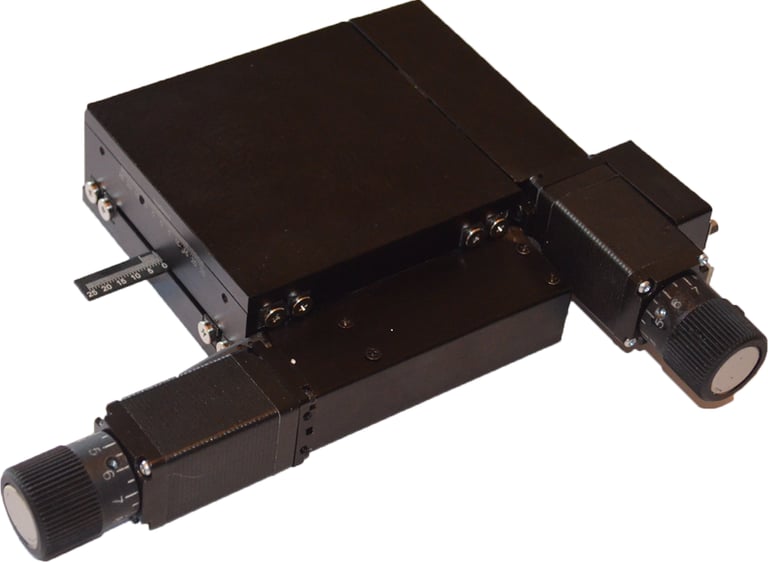
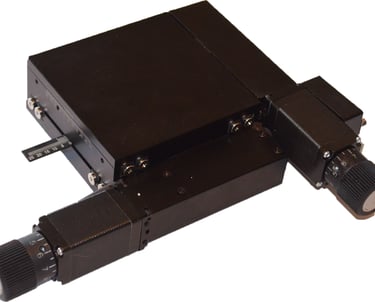
We specialize in full-automatic Vickers microhardness tester that are integrated with the latest professional technology including optical imaging, mechanical displacement, electronic control, digital imaging, image analysis, and computer processing. It has a fully motorized X-Y-Z axis positioning table that enable 27 pre-set traverses for easy operation.
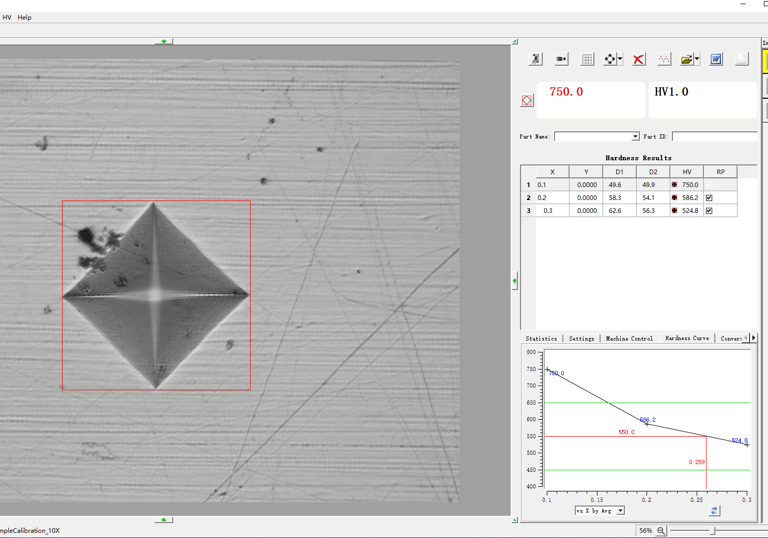
Powerful Software Functions
Boundary Direction of Sample Automatically


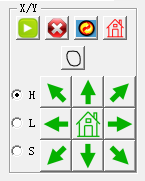
Manual Control Setting Adds Flexibility
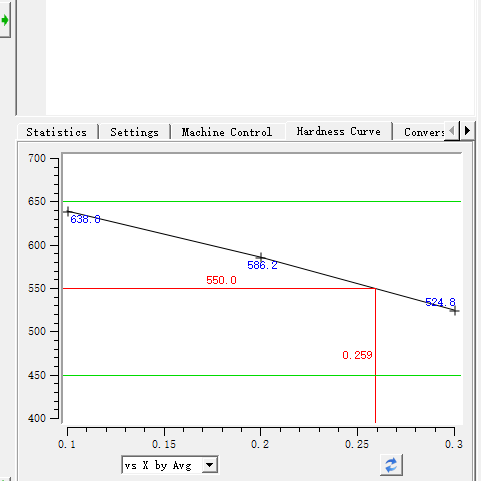
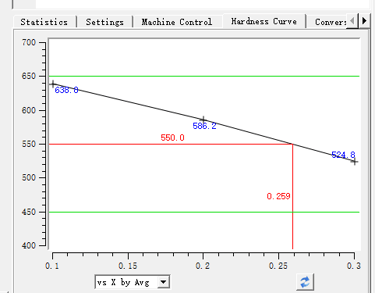
Only inputs of X Axis data based on indentation level while results filled automatically with hardness plotted

Technical Specifications
Test force:
10, 25, 50, 100, 200, 300, 500, 1000 (gf)
Carriage application method:
automatic loading, dwelling, and unloading
Measuring eyepiece:
Lens magnification:
Dwell time:
10× (Observation) 40×
0~60s (change by every 5 seconds)
10×
Lens and indenter switch:
Dimension of the XY table:
Min. measuring resolution rate:
Measuring eyepiece:
100×, 400×
With Motorized Turret
0.0625μm
120 X 120mm (4.7 inches X 4.7 inches)
Movement field:
Min. reading of movement:
Repeating position accuracy:
Image definition:
Testing range:
Distance between indenter center to outer wall:
50 X 50mm (2.4 inches X 2.4 inches)
0.01μm
0.3μm
automatic focusing
5HV~3000HV
100mm (3.94 inches)
Max. height of specimen:
Executive standard:
Dimension:
Net weight:
90mm (3.54 inches)
ASTM E384-22: Test Method For Microindentation Hardness
100mm (3.94 inches)
Instrument + Computer + Control box = 46kg (101lb)
Power source:
110VAC/220VAC. 50HZ
Report Generation with a Few Keystrokes
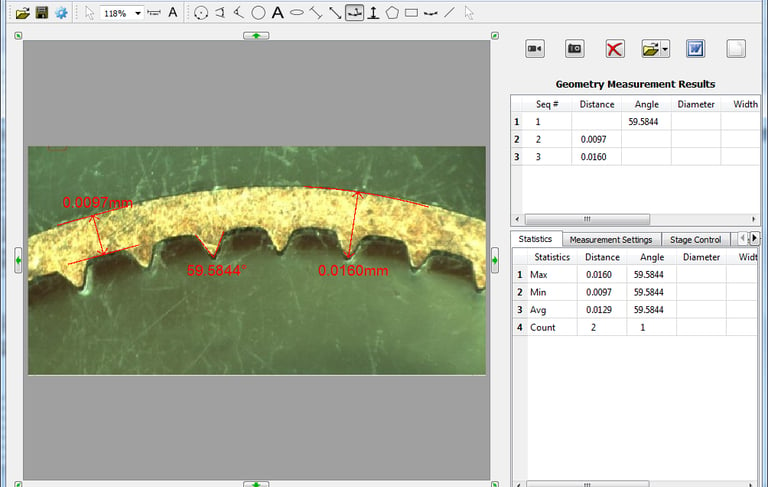
Auto-generated reports with embedded image
x-y-z axis positioning system for maximum movability
Case Study
Sample Specs: Grade API 5L X70 for pipeline
Testing Requirement: Understand the hardness impact of the entire welded sample
Time Required: 40 Hours if test manually vs. 1/2 Hour set up time using Fully-Automated Vickers Microhardness Tester for Hardness Measurement
Here's what our customers say
”The efficiency improvement achieved by transitioning from a manual, time-consuming process to a fully automated system is remarkable. I can’t fathom returning to the old method.”
- A Laboratory Manager
”Before the purchase I was concerned that the fully automated tester will put me out of job. But actually, I am moved to other fun session of the facility and gained more recognition and pay.”
- A Factory Technician
Important
info@lynxTNM.com
Connect with Us
+1 346 285 3477
9207 Country Creek Dr. STE200
Houston, TX 77036
www.lynxTNM.com
